
Carbon Recumbent Workshop 2005
31th of July - 6th of August 2005
Carbon recumbent building at Comp-Let in Senica (Slovak Republic). This workshop was a continuation of the workshop in 2004.
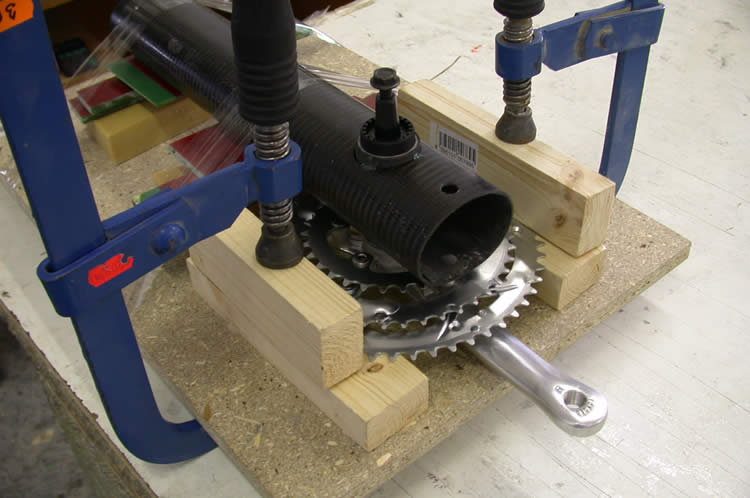
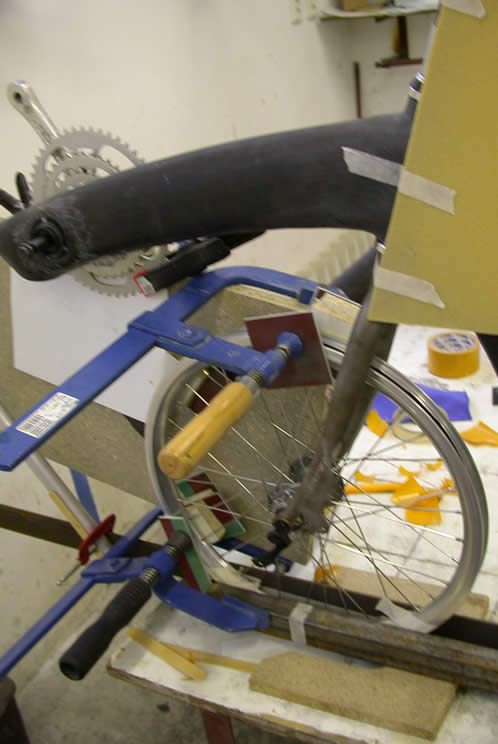
Alignment of the bottom bracket to the boom. The bottom bracket was fixed with five minute epoxy.

Prepared mould and carbon fiber fabric for 7 seat mounts.
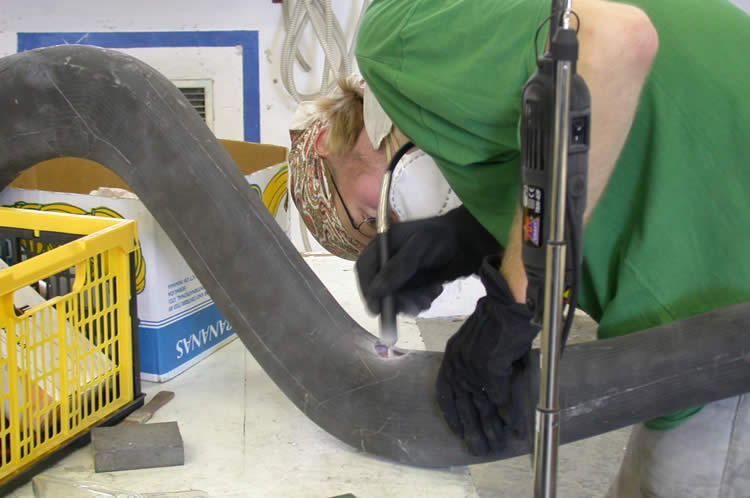
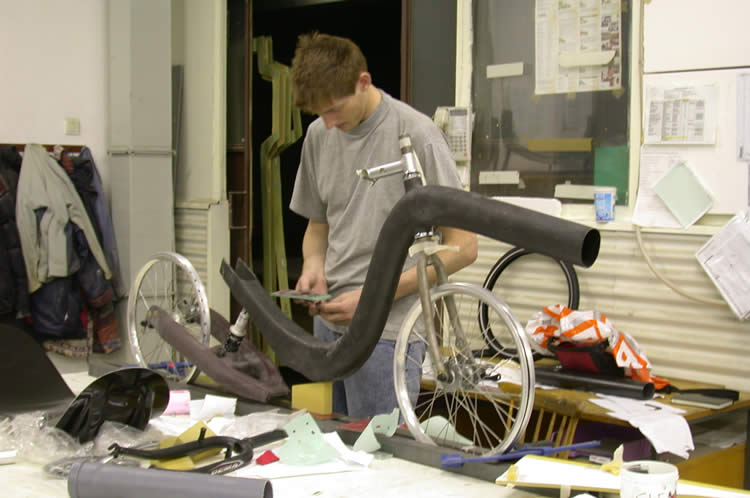
Honza shapes a hole in the frame for the head tube.
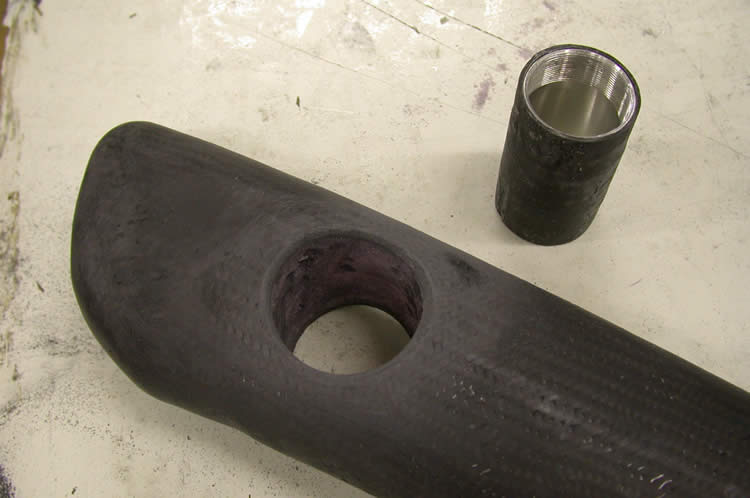
Due to the inaccessability of the bottom bracket on the inside of Evina's fixed boom, we laminated three layers of carbon fabric around the hole and into the hole. The next day we aligned and glued in the bottom bracket.
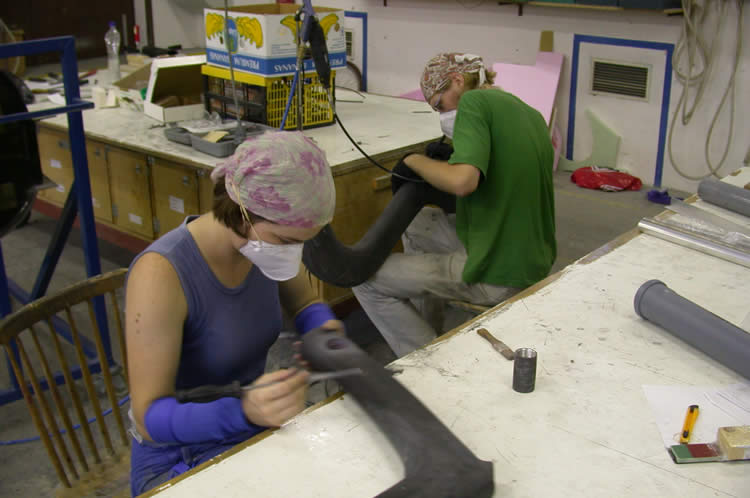
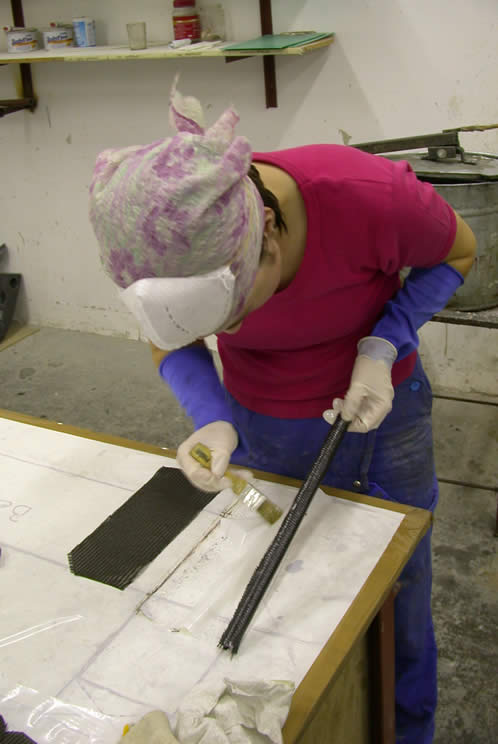
Evina is working on the bottom bracket hole. Honza is making holes at the ends of the nylon tubes, which were glued into the frame to guide the brake and gear cables inside.
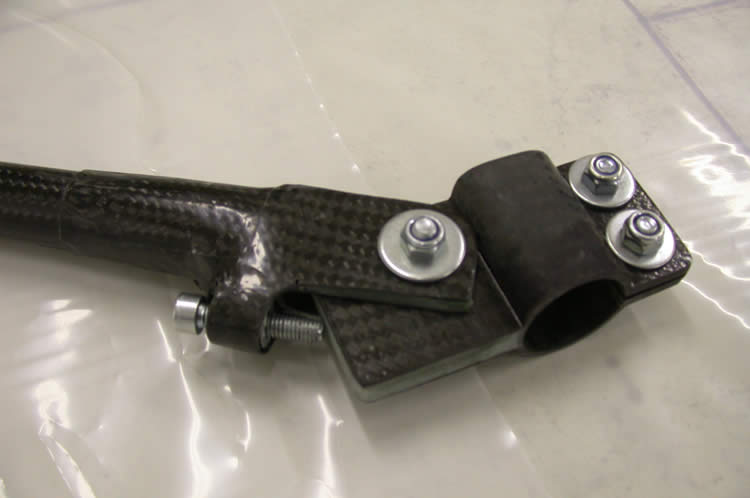
Solving the best way to bolt the leaf spring to the frame.
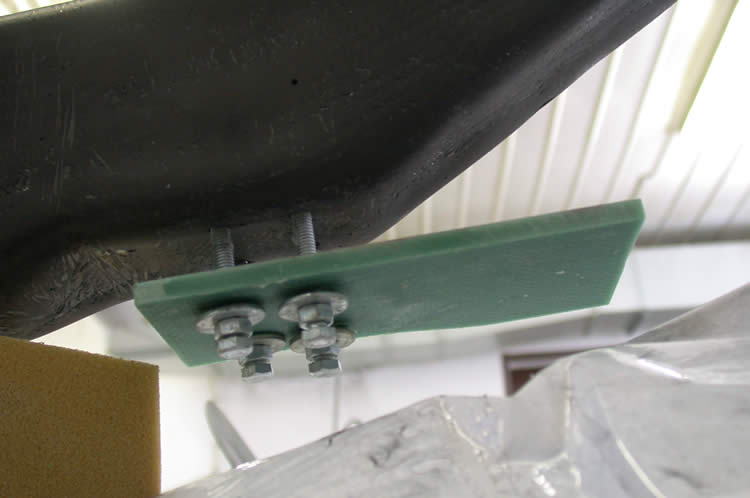
The surface on the frame where the leafspring touches the frame wasn't flat. The space between the sheet and the frame was filled later by epoxy mixed with additives. Leaf spring, bolts, nuts and washers were separated with wax to avoid them being glued with epoxy. After the thickened epoxy was applied to the glass sheet the nuts were used to tighten the sheet to the frame.

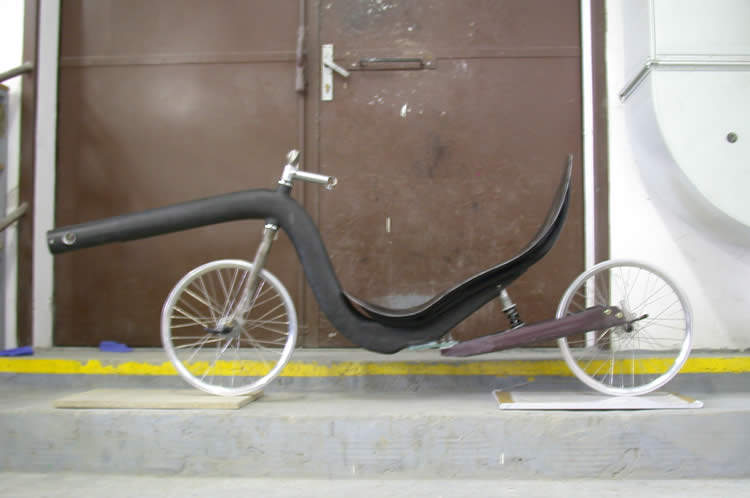
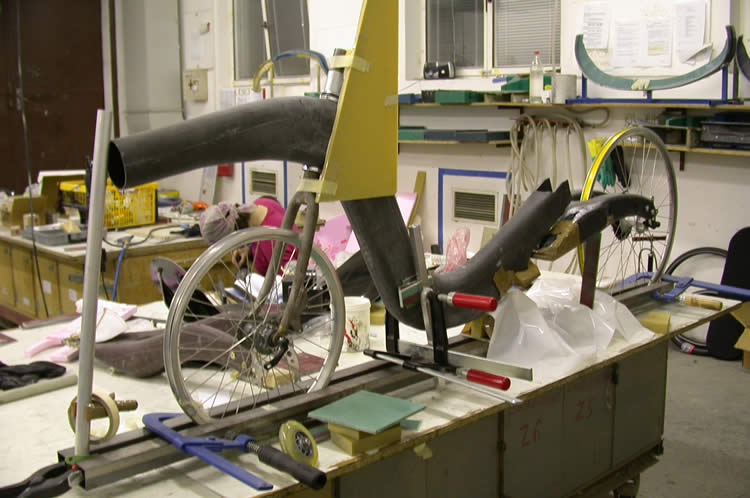
My bike in the alignment setup during the drying of the epoxy on the connection between rearfork and frame.
Epoxy was used to fill the space between rearfork and leaf spring as well as the space between frame and leaf spring.
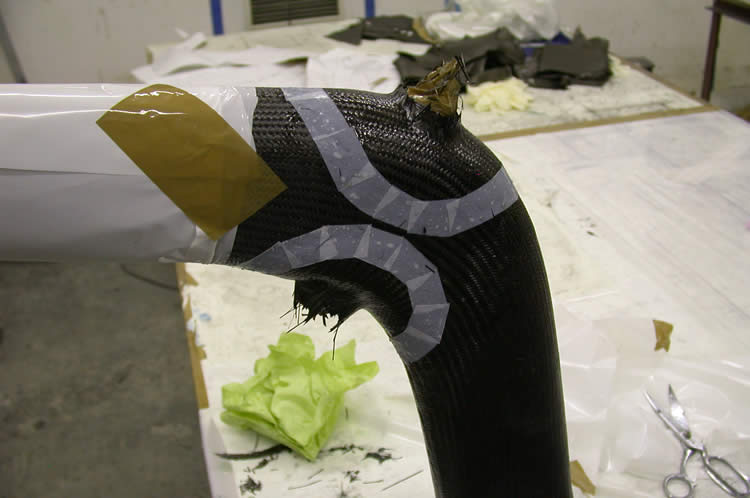
Fixing of the head tube of Peki's bike. Three layers of carbon fibre on top and on bottom of the tube.

Honza is finishing the laminating of a L-shape from which suspension mounts will be cut out.

Sitting on my bike for the first time!
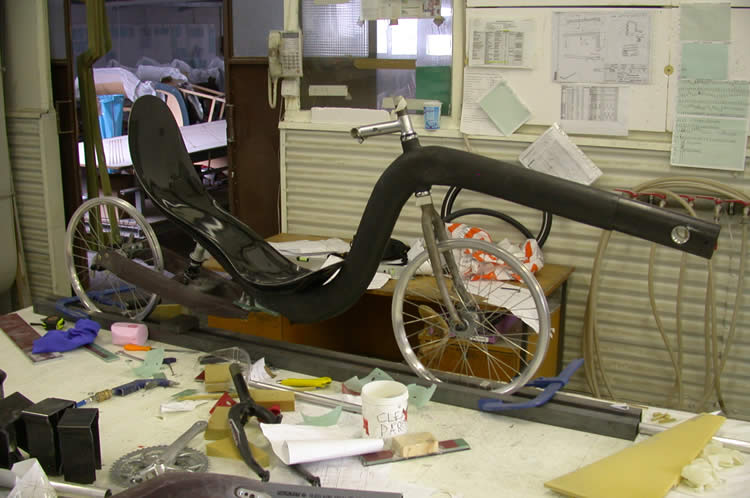
Impression of my bike with seat and boooooooom.
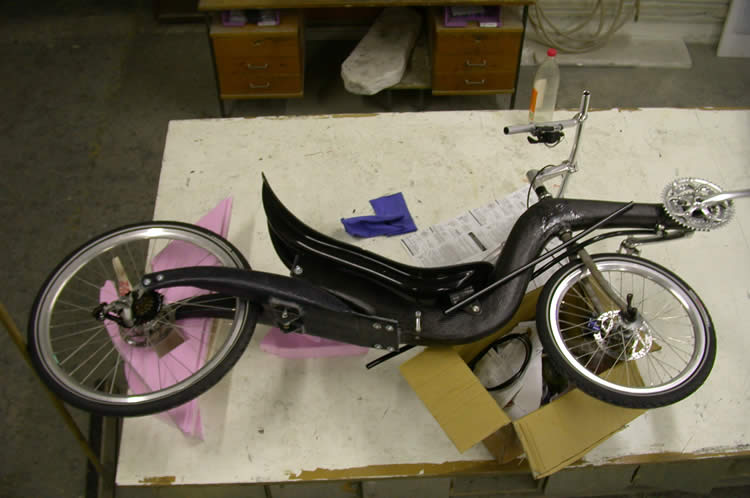
Side view of my recumbent.

Evina's bike in the alignment setup.
Aligning of Evina's bottom bracket.
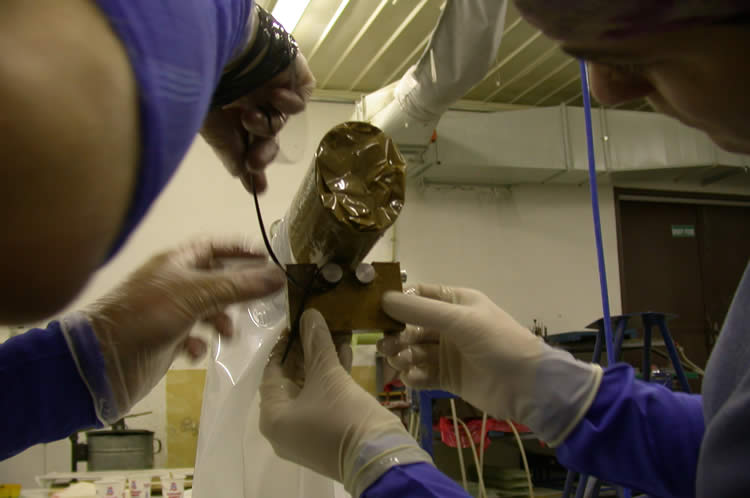
Laminating the boom clamp. The block is just for holding the alumium cilinders in position.
The cilinders can freely rotate in the carbon clamp. This is to avoid any other forces than tension in the unidirectional carbon roving.
The space between the leaf spring and both the frame and rear fork is filled with epoxy, aerosil and cutted glass roving.

Honza laminates rings of carbon fabric around his head tube.
Two taped pieces of glass composite kept the suspension mount from moving during the glueing of the mount to the rearfork.

Aligning of Peki's bike.
Foam core for handlebar tube and mould for boomclamp laminating.
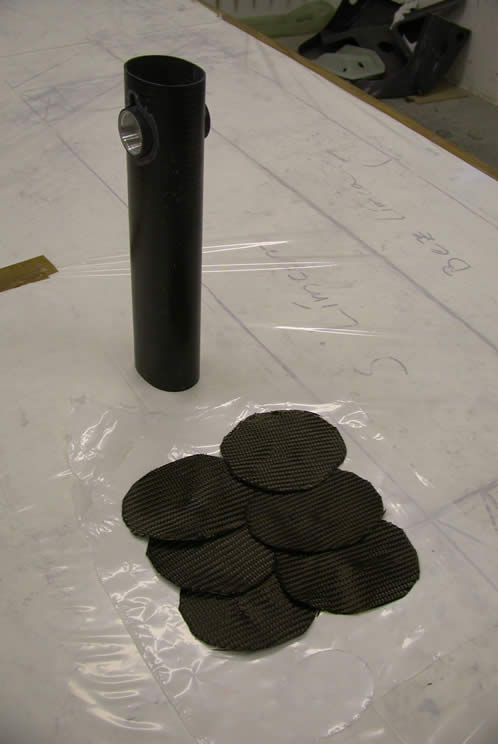
Boom and the six pieces of carbon fabric which will be laminated onto the bottom bracket inside the boom.
Laminating of a handlebar tube.

Epoxy mixed with cutted carbon roving is used to glue the suspension mounts to the rearfork.
Honza's bike in the alignment setup.
Cantilever steer pivot (needs a little more work to be finished).
Boom covered with tape and plastic foil. Just before the glueing of the bottombracket to the boom.
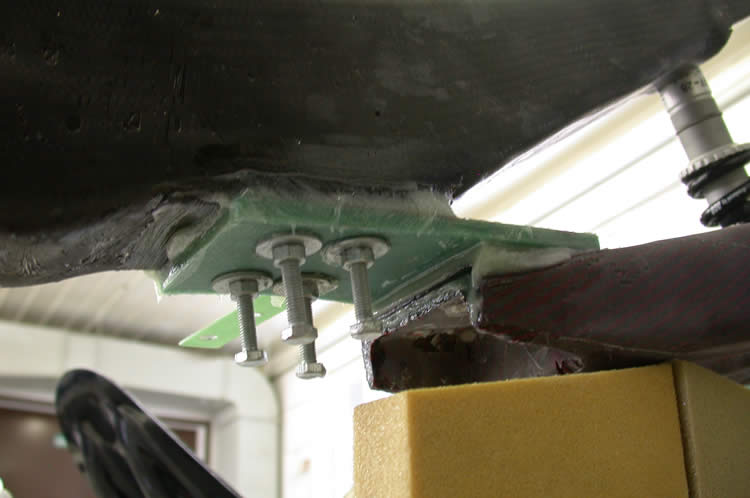
Suspension mount on the bottom of Peki's rearfork. The green layers are reinforcements made of glass fiber sheets.
Only a small fillet of epoxy with carbon roving isn't strong enough to keep the bottom bracket in place. Therefore we added fillets and applied 3 layers of carbon fabric to each side of the bottom bracket on the inside of the boom.
Peki's bike
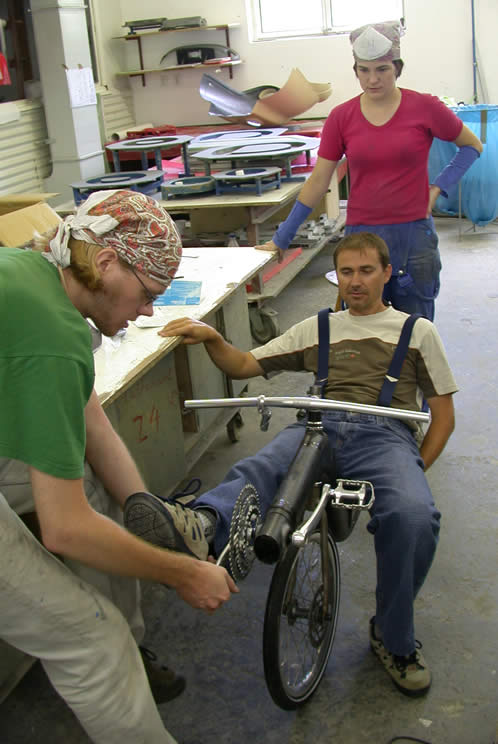
Honza is adjusting the boom length while Peki is sitting for the first time on his new bike.
Peki's bike is nearly finished.